
A trip to Canada can be very affordable so long as you budget carefully. Whether you’re taking a holiday or going backpacking, make sure to take some of these handy moneysaving tips and important costs into account.
Accommodation
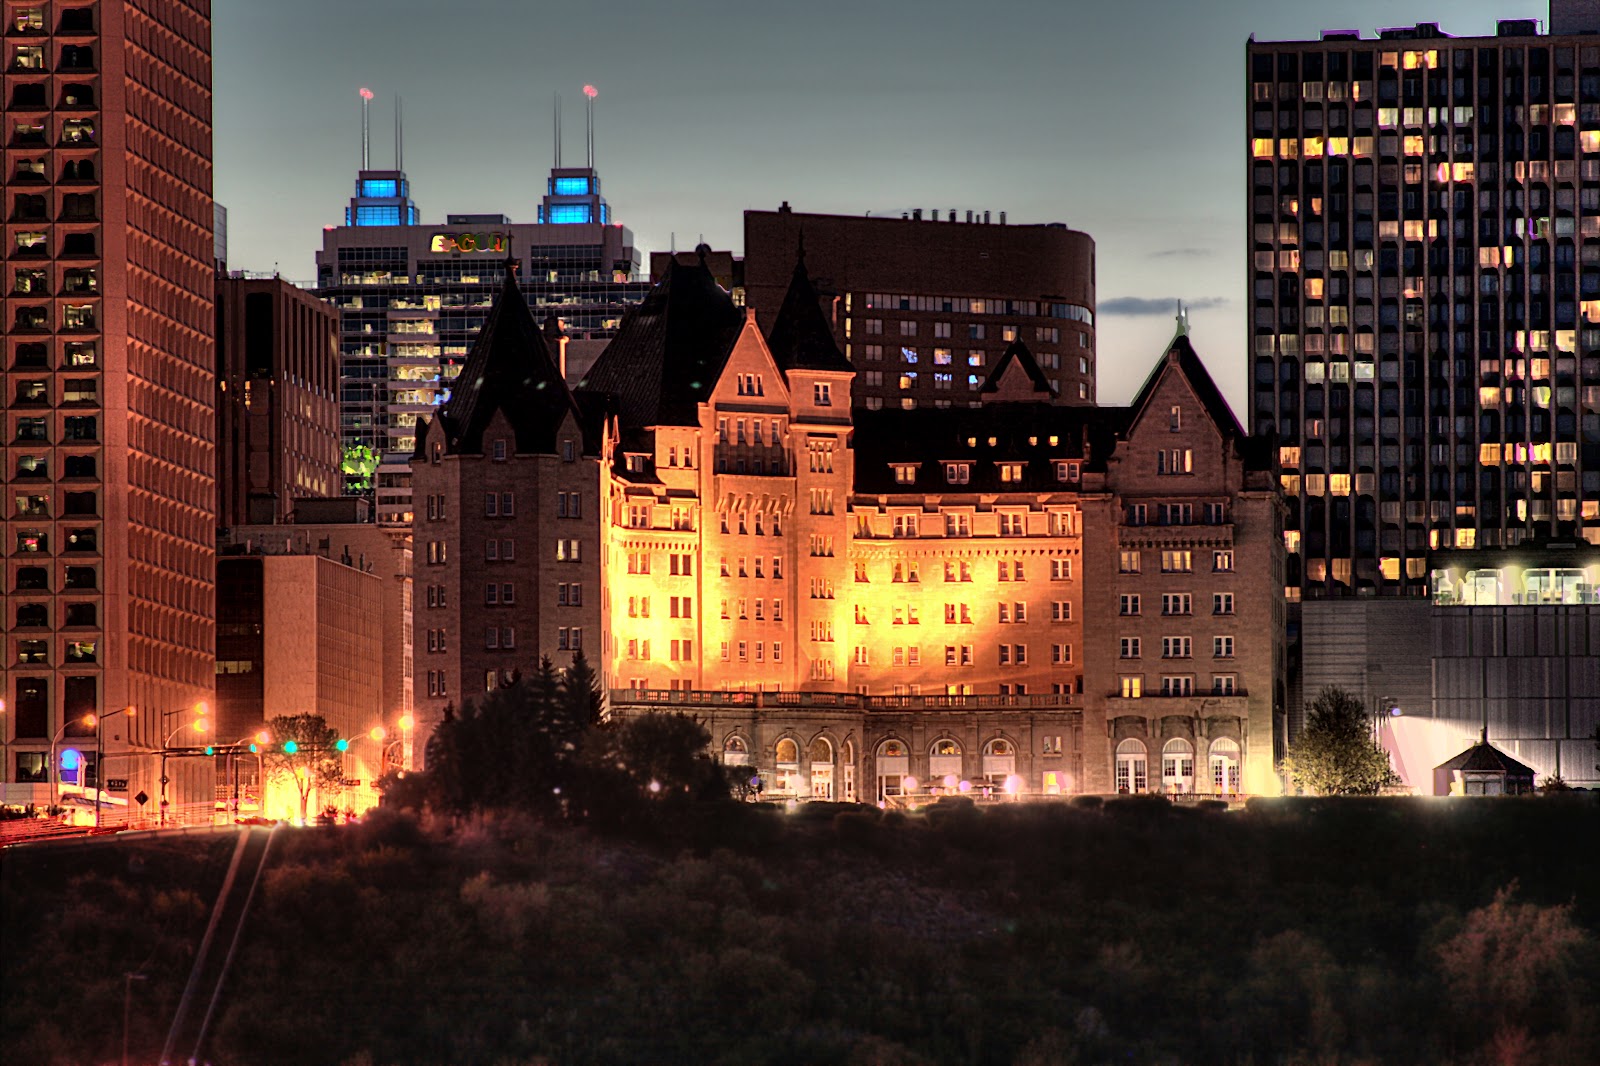
If you’re travelling across Canada, be careful when visiting cities. Accommodation in the centre will not be cheap, however if you’re willing to venture to the suburbs you may find somewhere much more affordable. Youth hostels and campsites are good places to stay for backpackers (if you want to see the national parks, this is definitely the way to go). Those looking for more luxury should still be able to find some cheap good-quality hotels on the outskirts of cities as well as on the routes between.
Food and drink
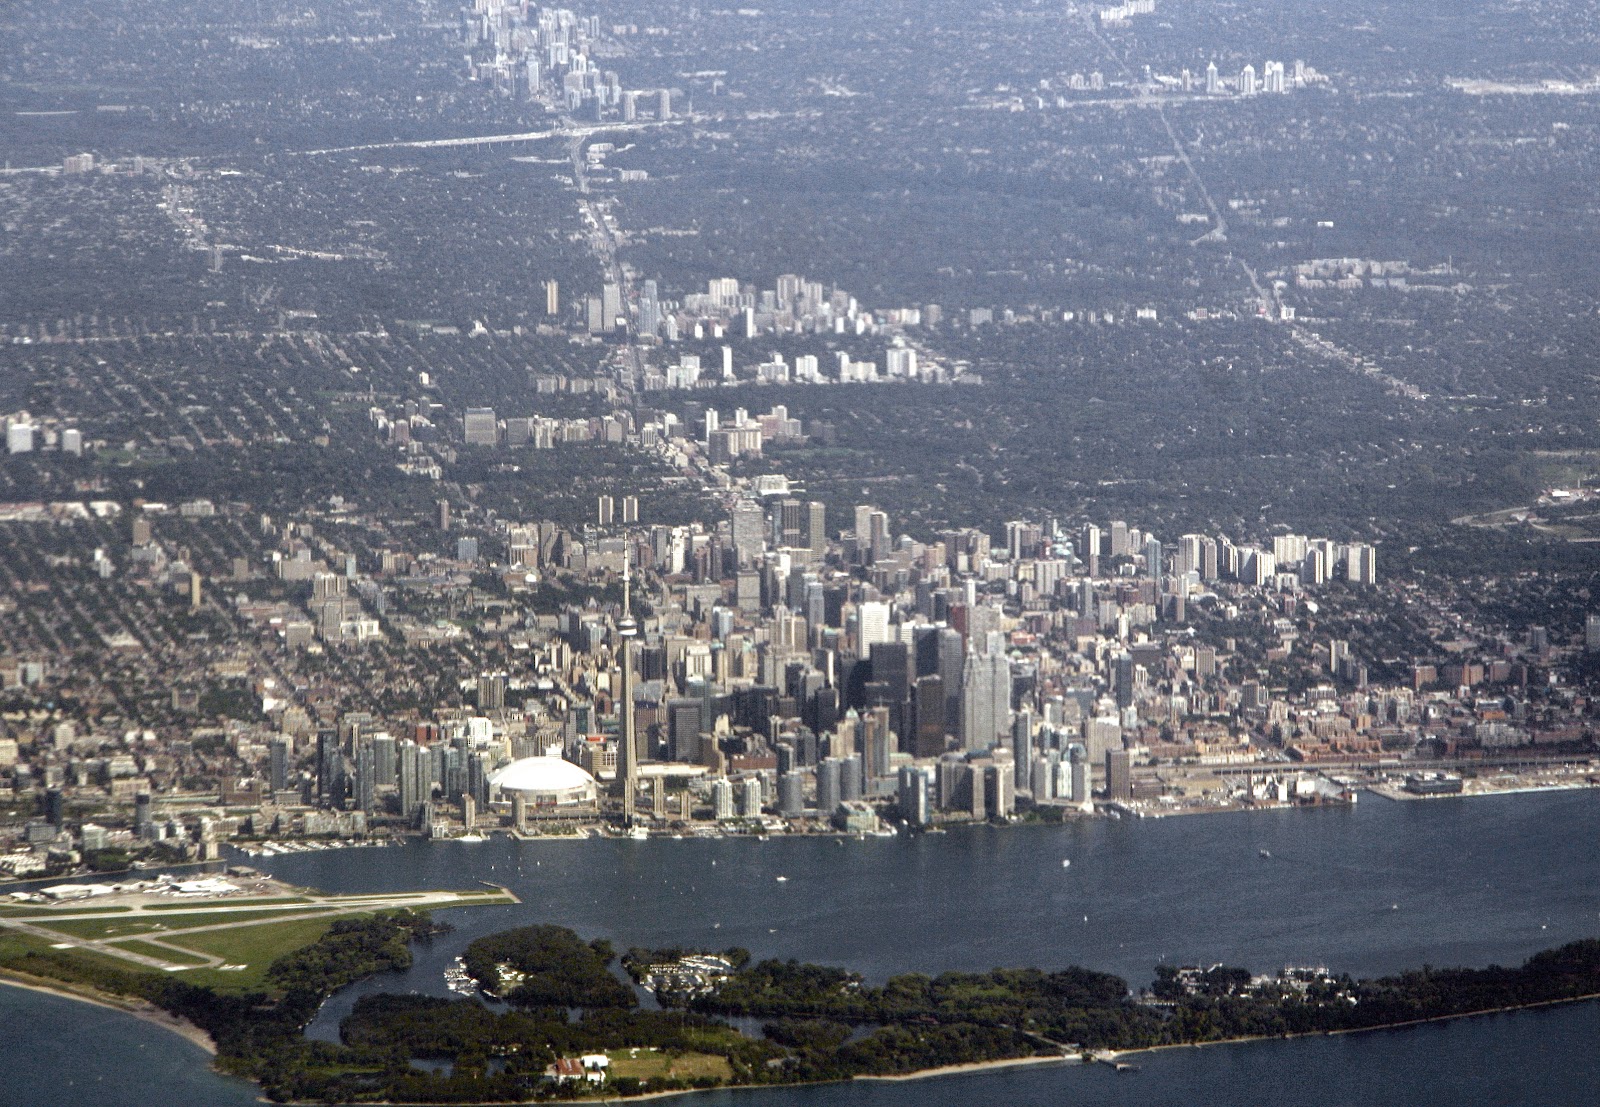
Restaurants are always going to be more expensive, so try to live on street food or get your own food to prepare from a supermarket. Many of Canada’s national foods such as Poutine and Montreal bagels can be bought on the street. Cities such as Toronto and Vancouver meanwhile are very cosmopolitan, so you’ll find exotic foods from all kinds of cultures, sure to offer variation to your journey. There are lots of cheap quirky eateries all over the country that you should make a point to look out for details some great places to try out if you’re visiting Toronto).
Flights
Depending on where you’re travelling from, flight costs can vary. Those travelling from the northern US may find it cheaper to hop on board a train, but generally air will work out less costly. Try not to look purely at direct flights – an airport change or two might dramatically lower costs (especially flights that go via Detroit and Seattle). Various other factors can lower flight costs such as booking last minute, going out of season or picking a time such as the middle of the night.
Visa
Travelling to Canada now requires a Visa known as an eTA, more info of which you can check out at official-canada. You’ll need to ensure you have this before travelling, otherwise you won’t get through border patrol. This may not be required if you’re travelling from the US. Border patrol is tightening however, so if you’ve got a holiday booked some time in advance, keep abreast of Visa laws just in case.
Driving permits
You may need to budget for an International driving permit, depending on which country you’re travelling from. Generally, if the license from your home country is printed in English or French, you won’t need an international driving license. Different Canadian states each have their own road laws – something worth brushing up on before you hit the roads to avoid getting fines. Laws on drink driving are strict and you must be wearing a seatbelt at all times. Compulsory third-party insurance is needed, so make sure you have a printed copy of this for when driving the Canadian roads.

